In the case of the three wooden posts for the woodstore we were able to attach them to the flitch beams on the ground and then lift them into place with the JCB or the digger. The posts in the center of the house though are not accessible to the machinery we have, so we lifted them into place by hand with the use of a rope and pulley attached to the hired aluminum scaffolding towers. This works very well, although putting up the longest flitch beam onto the posts above our heads was quite tricky!
 Many hands make light work – some of the farm team helped carry a post down after lunch.
 Scaffolding moved into place and the pulley is being hung up.
 The base being prepared for the foot of the post. There are railway sleepers under the wood you can see and below them, where the posts stand, concrete block pillars.


The wood is cut at the right sloping angle, two edges are chamfered so the weld on the plate doesn’t stop it fitting snugly. It is then drilled and bolted on.
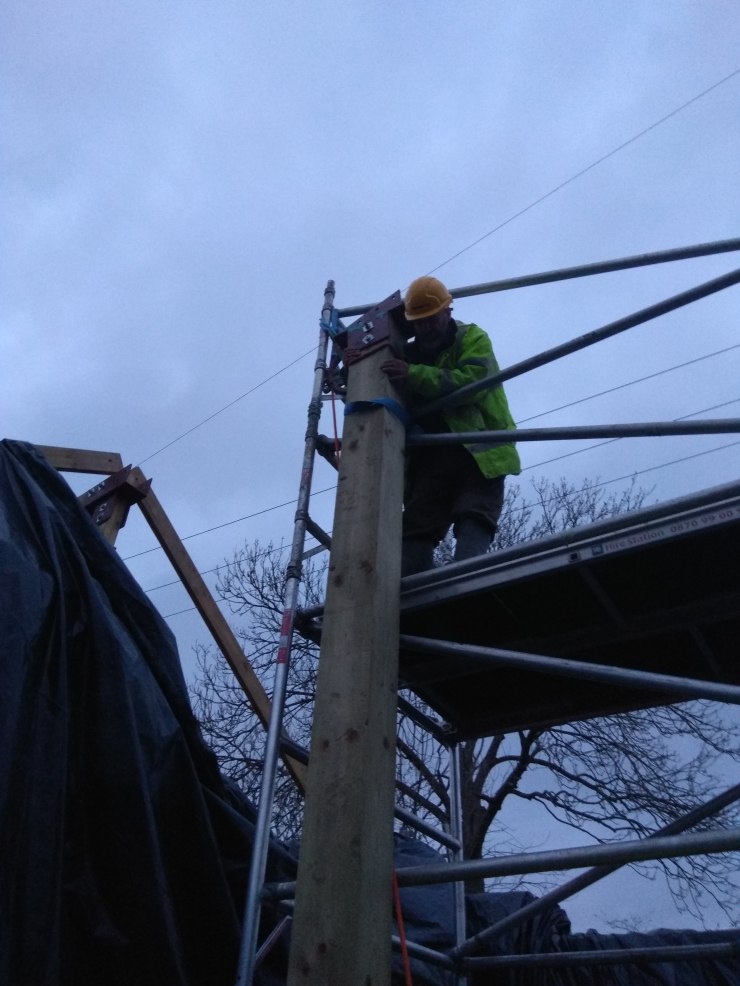 The post is then pulled up with the pulley into position.
 The next short bit of the ridge beam is pulled up. Being short it is only wood i.e. not a flitch beam with steel in it.
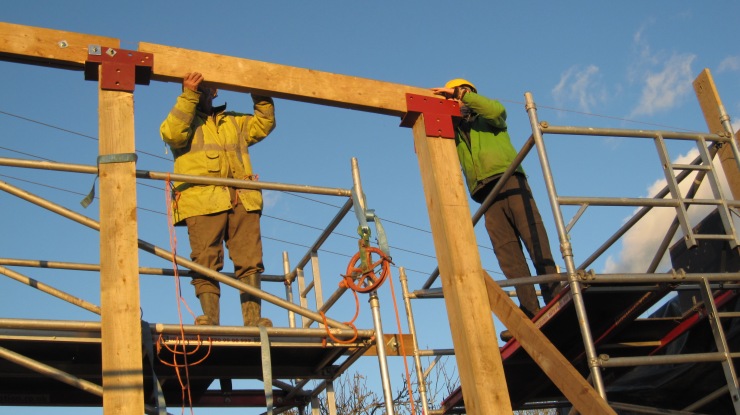
 Put in place and bolted on. The beam has an angled triangle of wood glued and screwed onto it’s length so that the rafters will sit nicely on it and not only on the corner.
 That’s the next wee bit done!


The next post is pulled up. We have fixed on some extra wood as this is where there is a change of angle/direction of the ridge beam.


The third beam is brought in and lifted up.


The last post is pulled up and secured.
 It doesn’t look heavy but the 10mm steel plate inside ensures it is! Bruno, Nino, Tom and Peter
 The rope goes on to lift it up.


Up and on she goes.


The post cap connector is also heavy so the pulley is really handy.
 The next ‘just’ wood beam goes on.
 Tom drills holes to bolt on the last cap, which goes above the straw-bale wall. Is it straight?
 Terry is helping secure the posts to the floor and the railway sleepers below.
